Keeping your Dish Network receiver in top-notch condition is crucial for enjoying your favorite shows without interruption. This article outlines straightforward steps to troubleshoot common issues like power and connection problems, resetting procedures, and how to handle service outages. By following these guidelines, you can ensure that your entertainment system runs smoothly, minimizing disruptions to your viewing experience.
Checking Connection and Power Issues
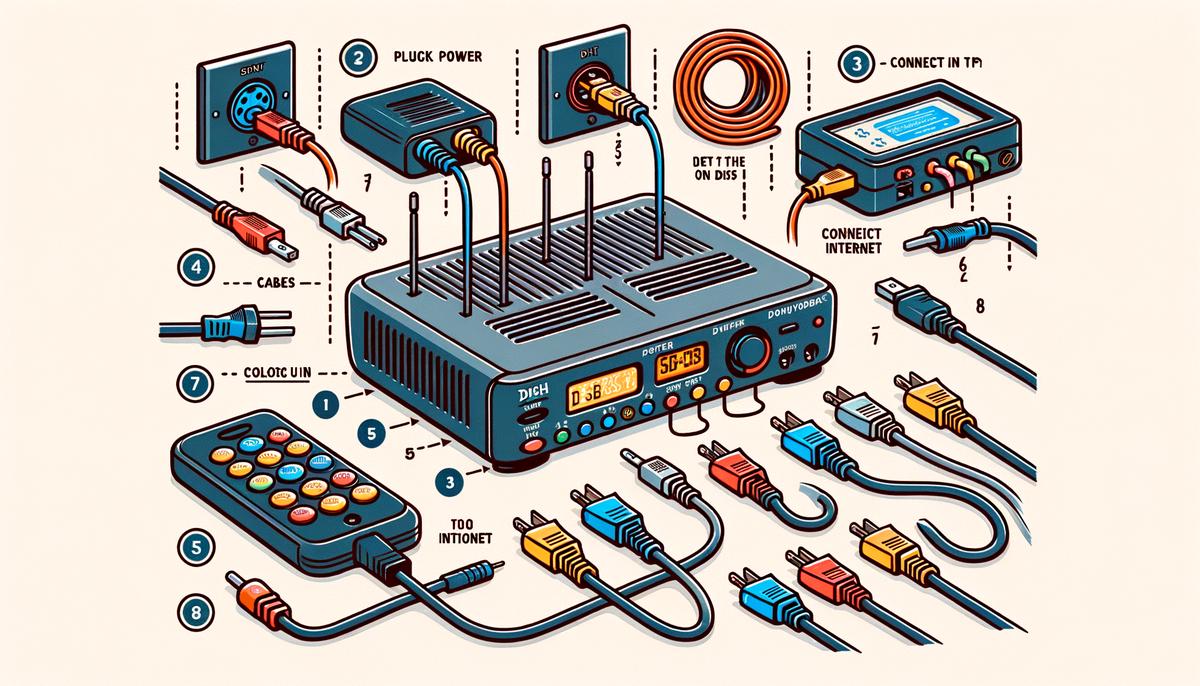
Ensuring your Dish Network receiver is powered and properly connected is essential for uninterrupted entertainment. Below, we will lead you through the steps to check the system’s status, making it a seamless process.
Step 1: Inspect the Power Connection
First, locate your Dish Network receiver. It should be visibly connected to a power source. If it’s not immediately apparent, trace the power cord from the back of the receiver to the power outlet. Ensure that it’s firmly plugged into both the receiver and the outlet. If the power cord seems loose or disconnected, secure the connections properly.
Step 2: Confirm Power Status
Now, glance at the front of your Dish Network receiver. You’re looking for any lit indicators or digital displays. A glowing or blinking light typically signifies that the receiver is on. If you observe no such indicators, attempt to power on the device by pressing the ‘Power’ button on the receiver or remote control. No response may suggest an issue with the power outlet or the receiver itself, warranting further investigation.
Step 3: Verify Cable Connections
With the power confirmed, it’s time to ensure all necessary cables are correctly connected. The back of your Dish Network receiver hosts a multitude of ports. Focus on two critical connections: the satellite input and the connection to your TV (HDMI, Component, or Composite cables). The satellite cable brings the signal into your receiver. Ensure it’s screwed in snugly at both the wall socket and the port labeled ‘Satellite In’ on your receiver.
Step 4: Check Your TV Connection
Find where your receiver connects to the TV. HDMI provides the best quality, so use it if possible. Ensure the cable is secure at both ends: one plugged into your receiver’s ‘HDMI OUT’ port and the other into any available HDMI input on your TV.
Step 5: Ensure TV Input is Correct
Finally, with everything connected and powered, grab your TV’s remote control. Navigate to the input or source menu, toggling through until you find the input corresponding to where your receiver is connected. For instance, if you’re using HDMI 1 on your TV for the Dish Network receiver, select ‘HDMI 1’ from your TV’s source menu.
Following these steps should guarantee that your Dish Network receiver is powered and properly connected, paving the way for quality viewing time. Remember, if any of these steps unveil persistent issues, contacting Dish Network customer service is your next best move for further troubleshooting and assistance.

Resetting Your Dish Network Receiver
Step 6: Initiate the Reset Sequence
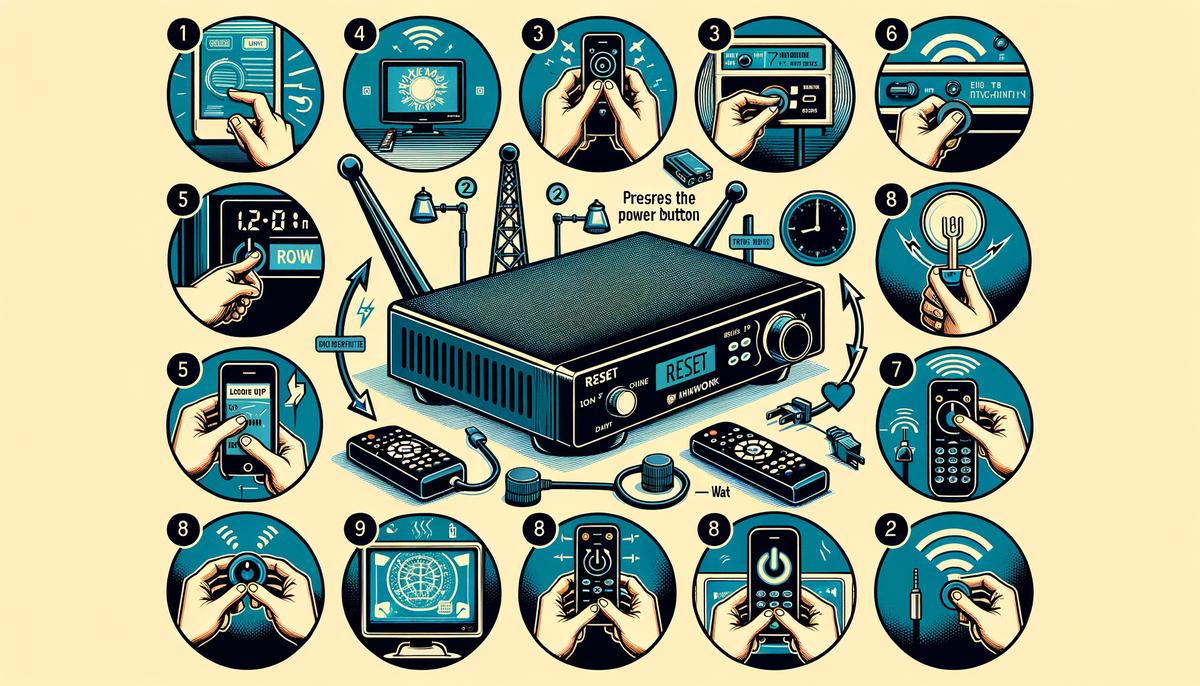
To kick-start the reset process, locate the power button on your Dish Network receiver. Depending on the model, this might be positioned on the front panel or discreetly hidden on the side. Press and hold this button for approximately ten seconds. This action forces your receiver to shut down and commence the reboot phase. Be patient during this time as the system goes through its restart routine, which is crucial for clearing any temporary glitches or system hiccups.
Step 7: Wait for Reboot Completion
Once the receiver’s lights flicker or switch off and then on again, it’s an indicator that the reboot process is underway. It’s important to stand by during this phase and not interrupt the power supply. Interruptions could potentially complicate issues further. The reboot can take anywhere from a few minutes up to ten, depending on your specific Dish Network model and its current state of operation.
Step 8: Test for Normal Operation
After allowing sufficient time for your Dish Network receiver to resume its normal operations, proceed to check if the reason behind initiating the reset has been resolved. Navigate through different channels, access the menu, and utilize other functionalities to confirm everything is operating as expected. Should problems persist post reset, this may indicate a deeper issue requiring professional attention or direct support from Dish Network’s customer service.
Step 9: Regular Maintenance Tips
To minimize future occurrences necessitating resets, consider routine checks and maintenance of your Dish Network receiver. This includes verifying cable connections are secure, ensuring the device is well-ventilated to prevent overheating, and periodically reviewing system updates to keep your receiver running optimally.
By adhering to these steps, you can effectively reset your Dish Network receiver, ensuring your viewing experience remains uninterrupted. In cases where resets do not solve the issue, reaching out to technical support can provide further guidance and assistance.

Checking for Service Outages
Step 6: Investigate Service Outages in Your Area
Sometimes, despite all internal checks and reset efforts, issues persist because the problem lies not within your equipment but with a regional service outage affecting Dish Network. In such situations, the steps to determine an outage and respond appropriately are crucial. Here’s how to tackle this efficiently:
- Access Dish Network’s Official Website: Using any internet-connected device, navigate to the official Dish Network website. On the homepage, look for a section labeled “support” or “service outage information.” This section is dedicated to providing updates on known issues, including outages.
- Use the Outage Checker Tool: Within the support or outage section, you should find a tool that allows you to enter your account information or location details. This tool is designed to inform you about any ongoing service problems in your area directly related to Dish Network.
- Check Social Media and Community Forums: Dish Network, like many other companies, frequently updates their social media profiles with information regarding service disruptions. Platforms such as Twitter and Facebook can be excellent resources for real-time updates. Also, community forums on Dish Network’s website may have threads from other customers discussing regional outages, providing insights into the scope and potential duration of the issue.
- Contact Customer Service: If website resources and social media do not yield satisfactory information regarding an outage, consider contacting Dish Network’s customer service directly. Using the customer service number, you can speak to a representative who can confirm any service interruptions in your area and provide more specifics on the situation, including estimated resolution times.
- Monitor the Situation: Once you’ve confirmed there’s an ongoing service outage affecting Dish Network in your region, the practical response is to stay informed about the progress in resolving the issue. Continue to check the official website, social media channels, or contact customer service periodically for updates.
- Alternative Viewing Options: In case of an extended outage, explore alternative viewing options. Dish Network might have protocols for such scenarios, granting temporary access to digital platforms or other compensatory measures to mitigate the inconvenience caused by the service disruption.
By following these steps, you ensure that you stay informed about any service outages affecting Dish Network in your area and understand the expected timeline for the restoration of services. Patience and staying updated through reliable sources will help navigate through temporary disruptions with minimal inconvenience.

By meticulously following the steps outlined in this guide, you can tackle most of the common issues encountered with Dish Network receivers. From checking connections and power supply to resetting the receiver and staying informed about service outages, these measures are designed to restore your entertainment system’s functionality efficiently. Remember, consistent maintenance and awareness are key to enjoying uninterrupted service. Should challenges persist despite these efforts, reaching out to Dish Network’s customer support will provide you with the necessary assistance for a resolution.
Revolutionize your content with Writio – an AI writer customizing high-quality articles. This page was crafted by Writio.
Leave a Reply