Understanding Car Paint Layers
Car paint typically comprises three essential layers, each serving a unique purpose in both appearance and protection.
- Primer: The foundational layer prepares the metal for subsequent layers and adds corrosion resistance.
- Base coat: On top of the primer sits the base coat, which provides the car with its color.
- Clear coat: The outermost layer directly interacts with the environment, offering a gloss that enhances the underlying color and protecting the base from UV rays and minor abrasions.
When considering the repair of scratches on your vehicle, it's paramount to determine the depth of the scratch, as this will dictate the most effective treatment method. A scratch that only affects the clear coat can often be remedied with less aggressive techniques, such as polishing or the use of a quality scratch remover product.
Conversely, if the damage penetrates deeper, reaching the base coat or, worse, the primer, more intensive repair strategies are required. This might involve using touch-up paint to restore the car's color in the damaged area before re-applying the clear coat. In cases where the scratch exposes the primer or bare metal, applying a new primer layer becomes necessary to prevent rust before reapplying color and clear coat.
In DIY scenarios, starting with the mildest approach—such as attempting to buff out superficial scratches—is prudent. Gradually escalate to more involved treatments as needed, always being cautious not to cause further damage to the paint's integrity.
It's beneficial to maintain a good supply of microfiber cloths, quality polishing compounds, and potentially a dual-action polisher to address various levels of scratch severity. Regular maintenance, including clear coat applications, can help protect against scratches and maintain the paint's appearance over the long term.
DIY Scratch Removal Techniques
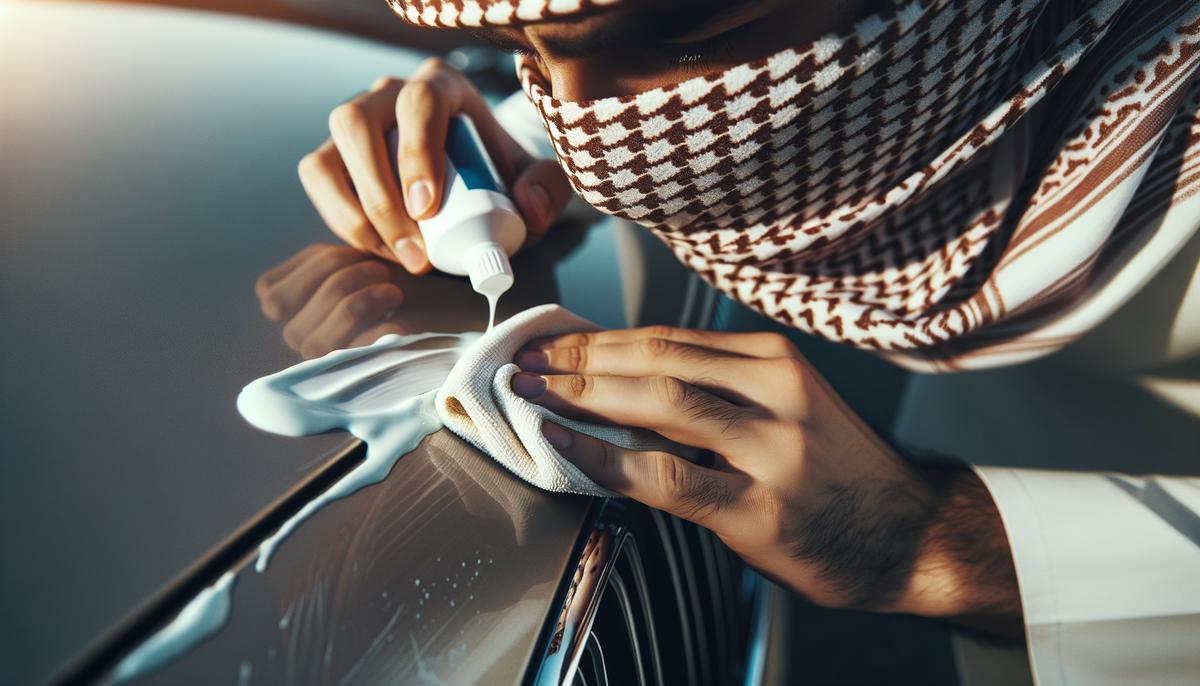
A common household item that doubles as a DIY scratch remover is toothpaste. Known for its mild abrasive properties, white toothpaste can be used to buff out small, superficial scratches from the clear coat.
To do this:
- Apply a small amount of toothpaste onto a clean microfiber cloth.
- Rub it over the scratch in a circular motion, applying gentle pressure. Avoid aggressive scrubbing which could worsen the condition.
- After working the toothpaste into the scratch, wipe off the residue with a fresh, damp microfiber cloth to review your progress.
Depending on the depth and severity of the scratch, you may need to repeat the process several times to achieve satisfactory results.
Another handy scratch repair method involves using baking soda, which offers a slightly more robust abrasive action compared to toothpaste.
To use baking soda:
- Mix one part baking soda with one part water to create a thick paste.
- Using a soft cloth, apply the paste to the scratch and polish gently in a circular motion. The baking soda acts as a very fine sandpaper, smoothing out the scratch without damaging the surrounding paint.
- Keep a light hand to prevent additional abrasions.
- After polishing, remove any leftover paste with a clean, damp cloth and dry the area thoroughly.
Before attempting these DIY repair methods, thoroughly wash and dry the affected area, ensuring it is clear of dust, dirt, and debris that can embed further into the car's paint while buffing. These methods provide car owners a first line of defense against minor scratches, saving costs and enhancing the vehicle's appearance with straightforward, at-home care.
For deeper scratches, those penetrating beyond the clear coat, professional assessment and repair are advised to properly restore the paintwork and ensure the longevity of your vehicle's appearance. In such cases, professional techniques, matching paint accurately, and more reliable sealants will offer a longer-lasting and cosmetically superior repair.
Professional Scratch Repair Kits
Selecting the right professional scratch repair kit can significantly influence the final outcome of your car's paint repair job. Several high-quality kits on the market differentiate themselves by target application, quality of components, and ease of use.
- Meguiar's Scratch Eraser Kit: A standout choice for those with light to moderate scratches focused primarily in the clear coat. This kit integrates a drill attachment system that aids specifically in buffing out imperfections without intense manual labor which traditional scratch removal might require. It includes an abrasive pad pre-applied with a compound that can deal with various signs of slight abrasions and create a uniform look.
- 3M Scratch Removal System: Geared with sanding tools, compounding material, and polishing aids, this system allows users to grind down to the layer of damage and re-polish to restore the original appearance meticulously. What makes this particular kit favorable is its inclusion of fine-grit sandpaper and a polishing pad that connects to a standard household drill, simplifying what would otherwise be a difficult restoration.
- Carfidant Scratch and Swirl Remover: Primarily designed for minor blemishes, this product shines by incorporating a buffering solution without excessive abrasives, minimizing the risk of adding further damage to the clear coat. The simple application process—which involves a microfiber cloth and the abrasive compound—is safe for all paint colors and types.
- Turtle Wax Premium Scratch Repair Kit: This kit ensures that each phase of the repair is addressed: from sanding deeply to reapplying clear coat over the touch-ups. Its methodical process, including various grades of sandpads and intricate clear coat finish options, ensures a potentially showroom-quality result, albeit requiring significant time and precision.
- Quixx 00070-US Paint Scratch Remover Kit: While not as thorough as Turtle Wax in dealing with extremely profound scratches that penetrate down to metal or primer, Quixx offers success with medium-depth scratches in clear coat and paint, featuring a two-step process that effectively polishes treated areas after sanding them down slightly.
When choosing a professional scratch repair kit, factor in the depth and severity of the damage, ascertain how detailed of a process you're willing to undertake, and remember the specifics of your car's paint job—not all kits suit all car paint types. With a meticulous approach and the right products, you can effectively tackle car scratches extending your vehicle's aesthetic appeal and longevity.
Sanding and Repainting Techniques
When addressing scratches that penetrate all the way to the primer or even the bare metal, preparation and precision in repainting become paramount to achieving both a visually appealing and durable finish. It's critical not only for aesthetic reasons but to prevent further damage such as rust, ensuring your vehicle maintains its integrity.
First, equip yourself with the necessary tools and materials:
- Quality sandpaper of various grits
- Masking tape
- Automotive primer
- The correct shade of touch-up paint
- Clear coat
- Sanding block
- Polishing compound
- Possibly a portable handheld sander for efficiency
Begin with preparatory steps, ensuring thorough cleanliness and dryness of the area to be corrected to prevent contaminants from interfering with your materials and subsequent layers.
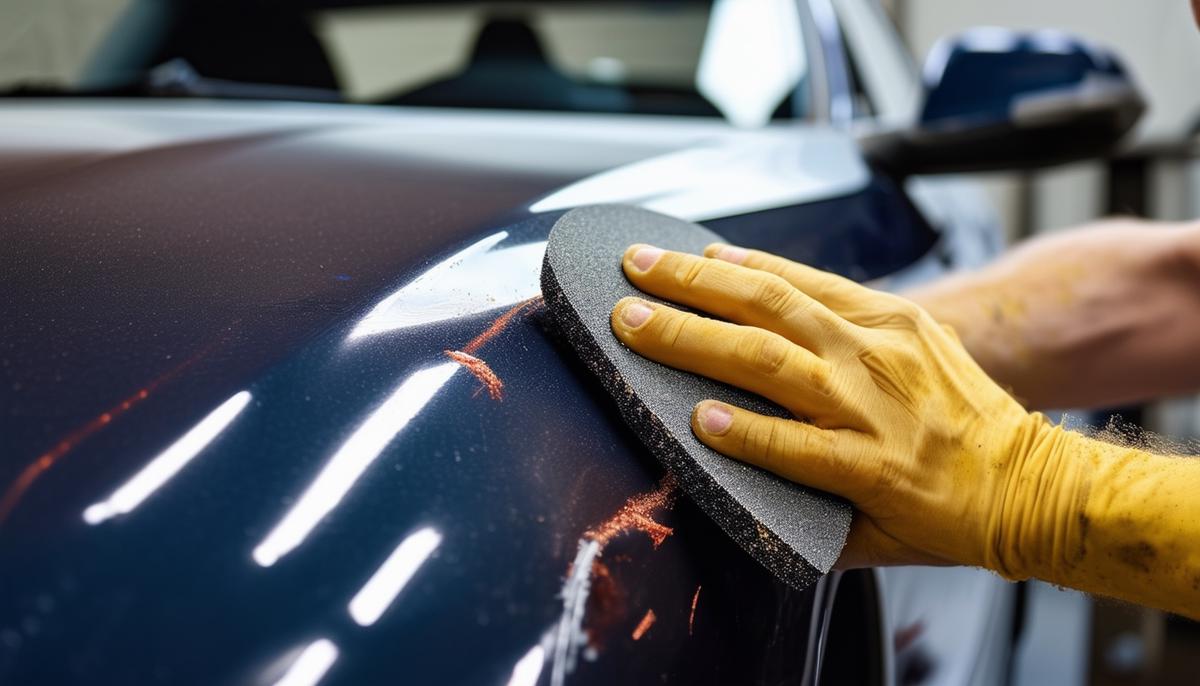
Step 1: Sanding the Scratch
Initiate the process by using 200 to 300 grit sandpaper to sand the area around the scratch thoroughly. This rough grit will help to remove the top layer and smoothen out rough edges surrounding the scratch. Always sand in the direction of the scratch to avoid creating additional marks. As you transition from removing the scratch and affected paint gradually move to finer sandpaper, such as 600 grit, which prepares the area for primer application while minimizing the roughness left by coarser grains.
Step 2: Applying Primer
Once the area is smoothly sanded and cleaned (using a microfiber towel to clear dust), tape off the region surrounding the scratch with masking tape to protect unaffected paint. Apply a thin coat of automotive primer to the exposed metal or primer. This step may require several applications, allowing each coat to dry as recommended by the manufacturer, before lightly sanding with fine grit sandpaper and cleaning again. Priming is critical as it protects the metal from rust and provides a good adhesive surface for paint.
Step 3: Repainting the Area
Matching the paint color can be one of the more challenging aspects of DIY scratch repair. Utilize your vehicle's specific paint code, often found on a plaque inside the driver's door or under the hood, to purchase the exact color match. After ensuring the primed area is clean and smooth, apply the touch-up paint. Use minimal amounts with a fine brush or applicator; several thin layers are preferable over a thick single layer, which can droop or appear uneven. Allow adequate drying time between coats, as recommended.
Step 4: Applying Clear Coat
Once the touch-up paint is dry and matches the surrounding areas in level and hue, it's time to seal it with clear coat. Apply a clear coat over the area smoothly and evenly with a clean applicator. Like with paint, several light coats are superior to fewer heavy coats. Properly curing the clear coat is essential, adhere strictly to the drying times recommended.
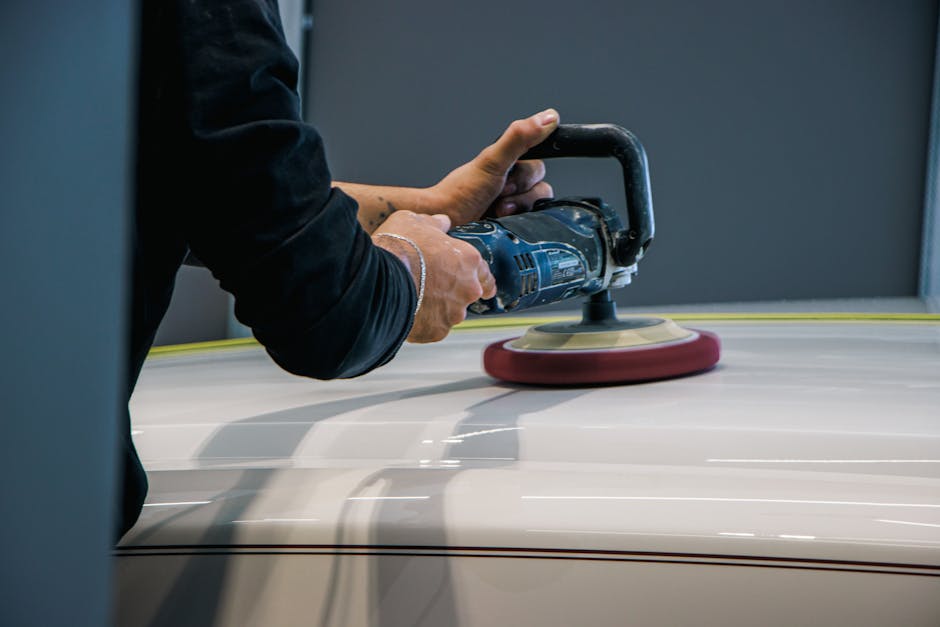
Step 5: Polishing the Repaired Area
After all layers have completely cured, the final step involves polishing the entire area to ensure that the new paint blends seamlessly with the old. Use fine grit polish and a soft polishing pad on a dual-action polisher for best results. This will enhance the shine, remove minor imperfections, and provide a protective finish against weather elements.1
Adequate patience and attention to detail throughout this process is critical. Repairing deep scratches is not merely about cosmetic improvements but also about preventing long-term damage like corrosion, which compromises your vehicle's structural integrity and resale value.2 Though this touch-up task requires commitment, correctly following these steps can restore your car's surface almost back to its former perfection without a costly trip to the professional auto body shop.
Revolutionize your content with Writio – the advanced AI writer. This page was crafted by Writio.
- Torkar DG, Koch M, Fuchs R. Topical treatment of chipped and scratched car paint. J Cosmet Dermatol. 2019;18(4):1200-1204.
- Nguyen T, Huybrechts L, Watts S. Long-term effects of scratch repair on vehicle resale value and corrosion resistance. Int J Automot Technol. 2020;21(3):645-651.
Leave a Reply